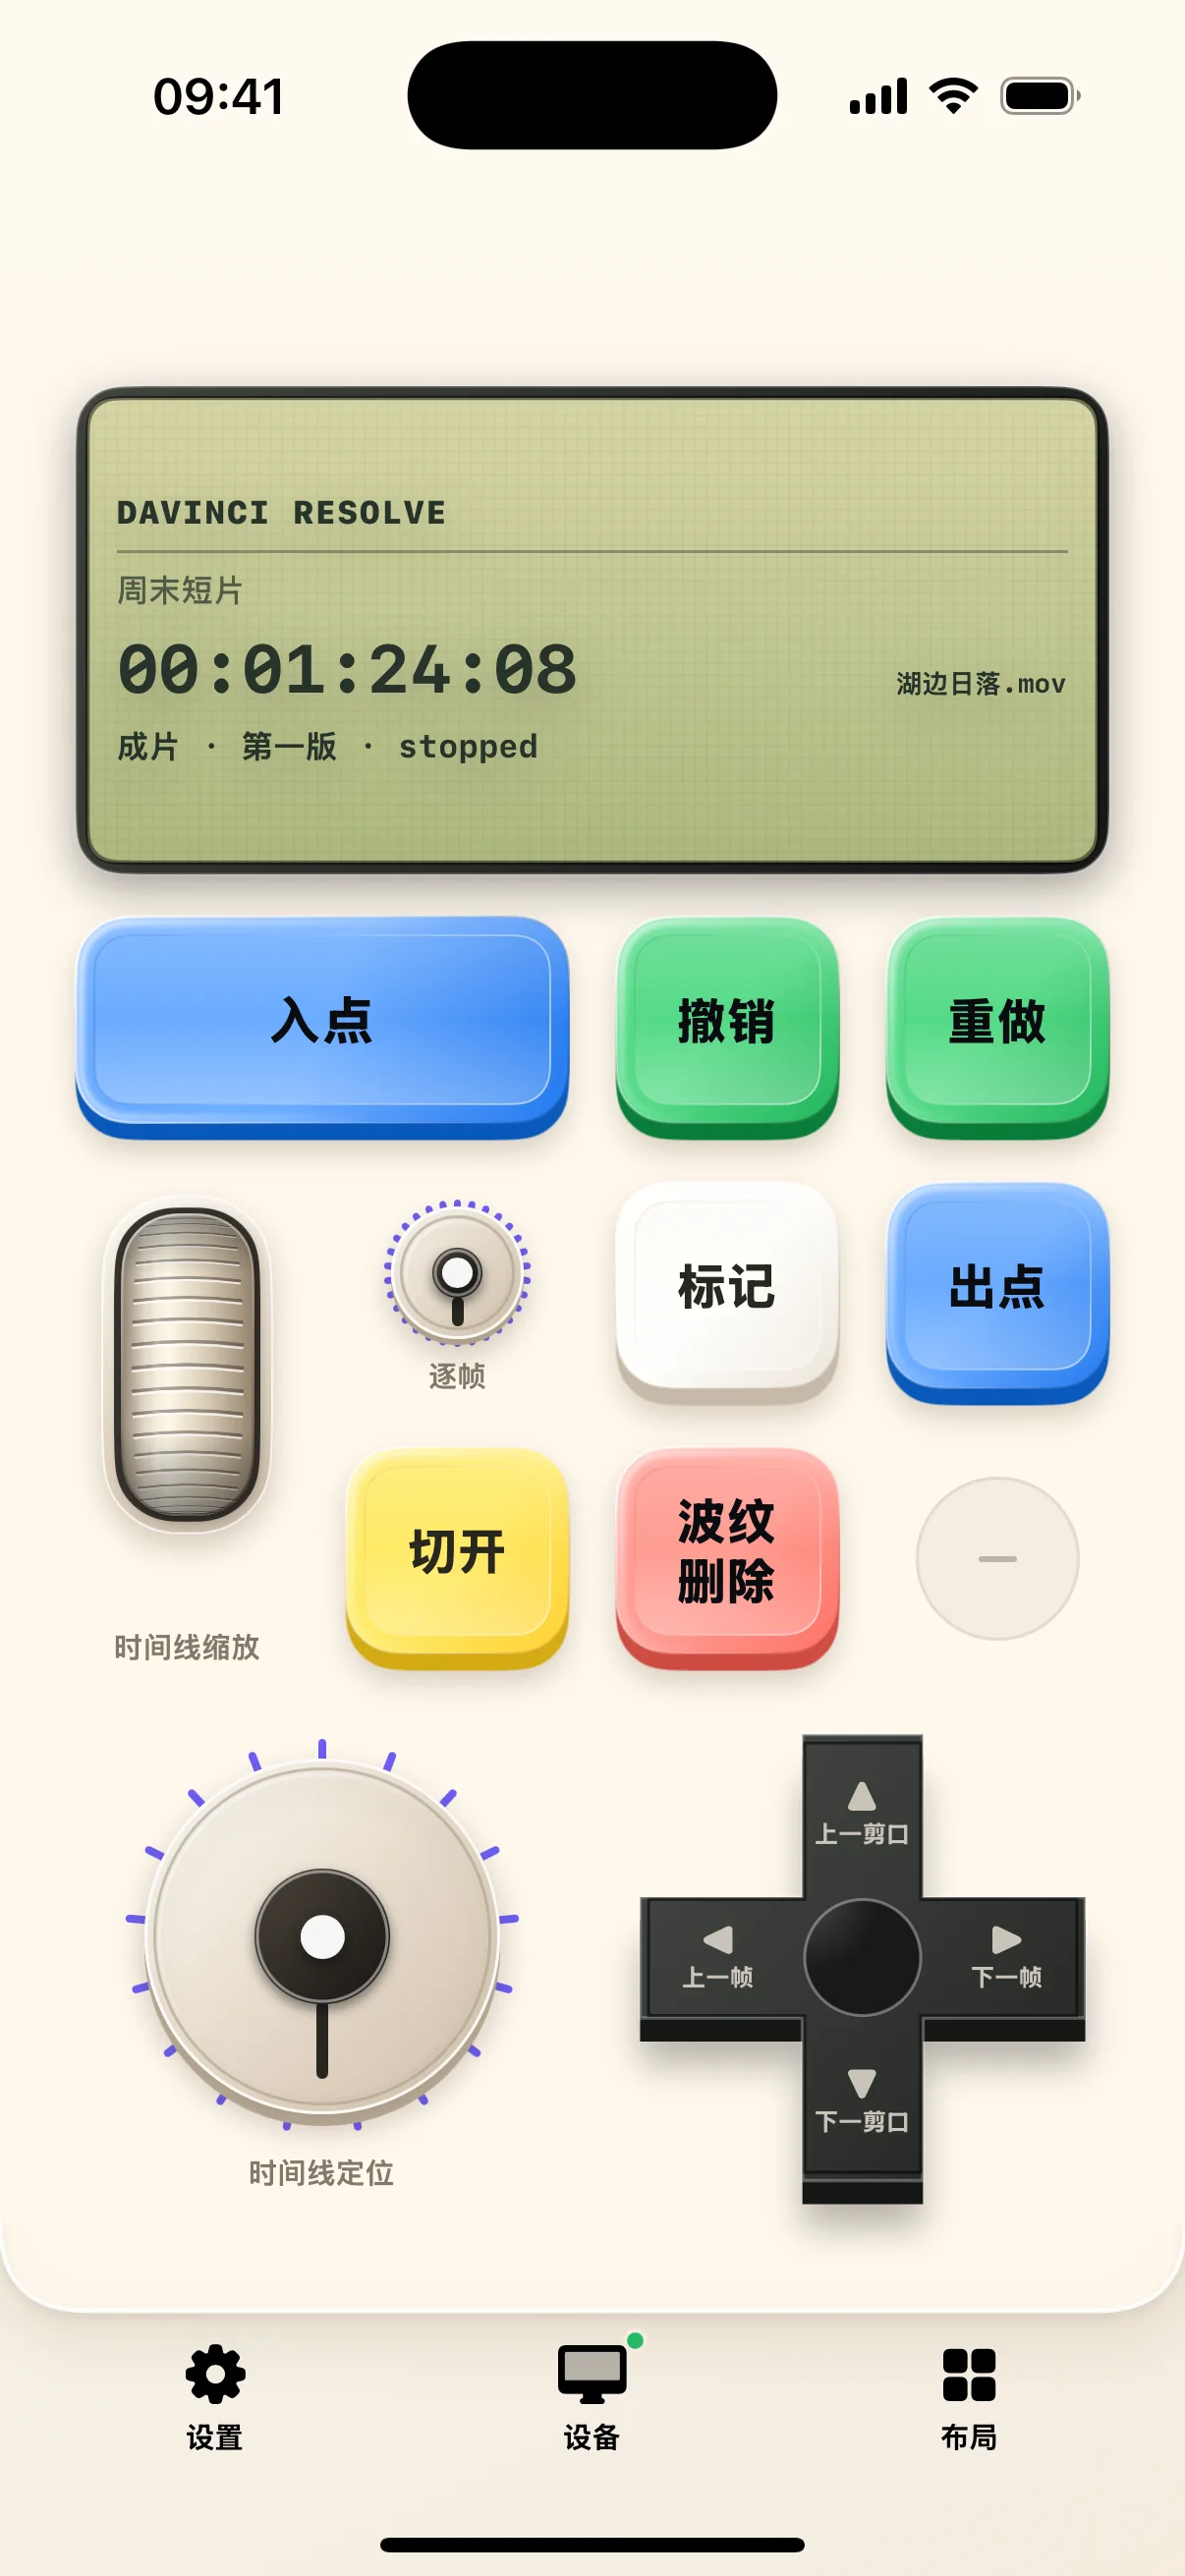
During video editing, constantly shifting your hand between keyboard, mouse, and timeline breaks your creative flow. With NinoPad's "Studio View", you can place your phone next to your keyboard to zoom timelines, position playheads, and cut clips with one hand.
Whether you edit in DaVinci Resolve, Final Cut Pro, Adobe Premiere Pro, or CapCut, NinoPad automatically adapts its controls to the active foreground application.
1. Enter Studio View and Confirm Active Software
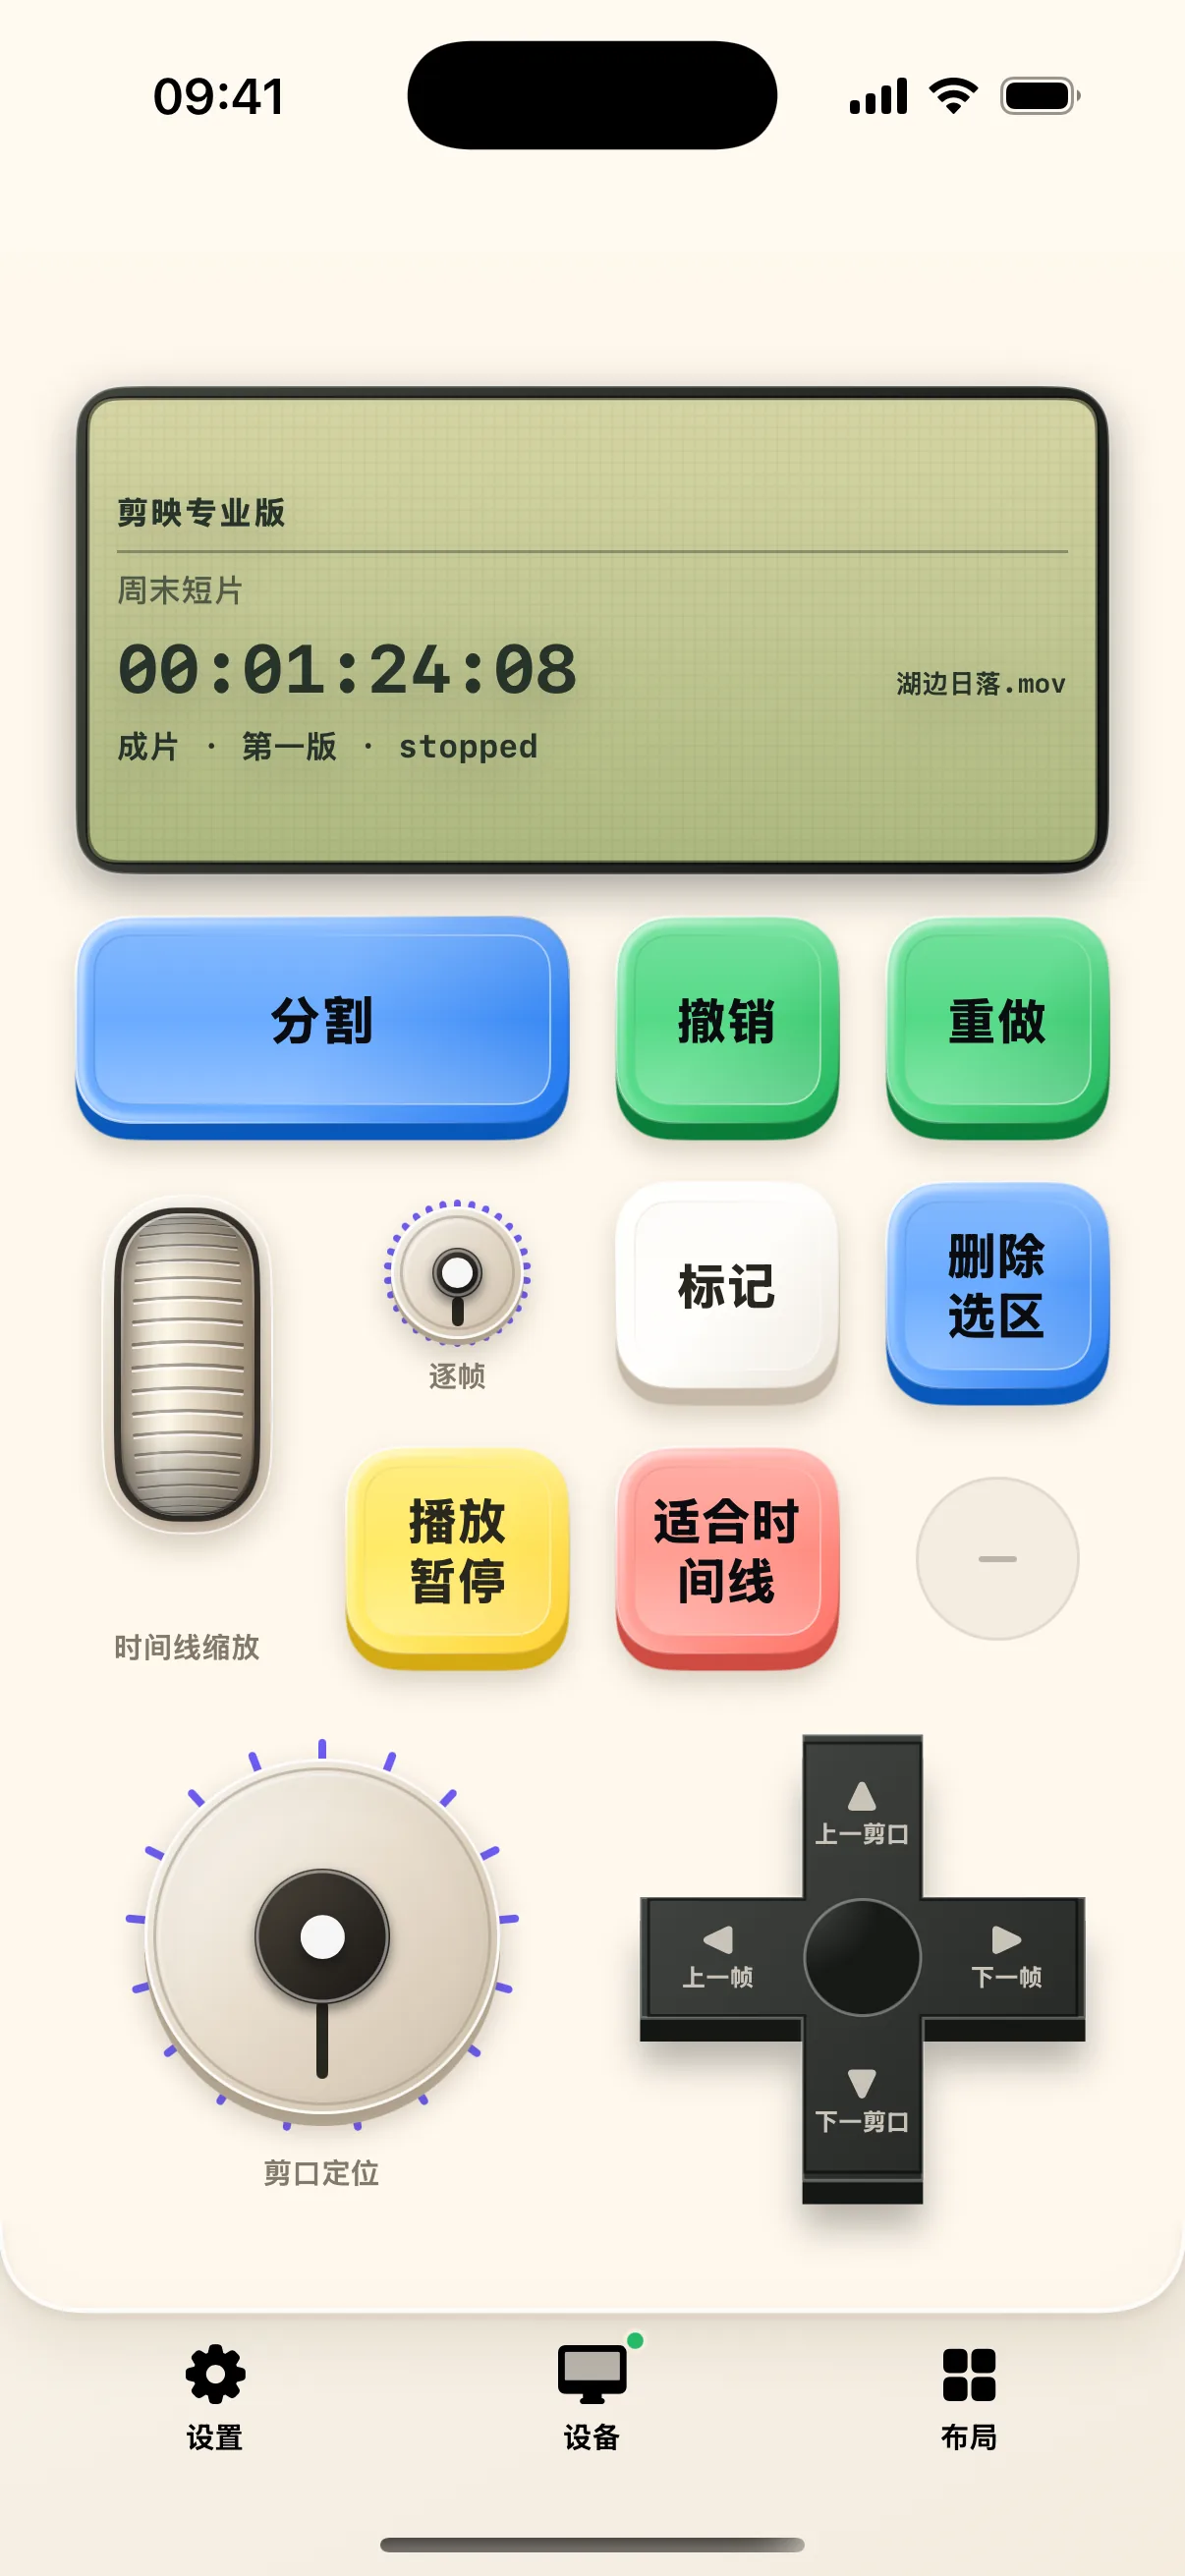
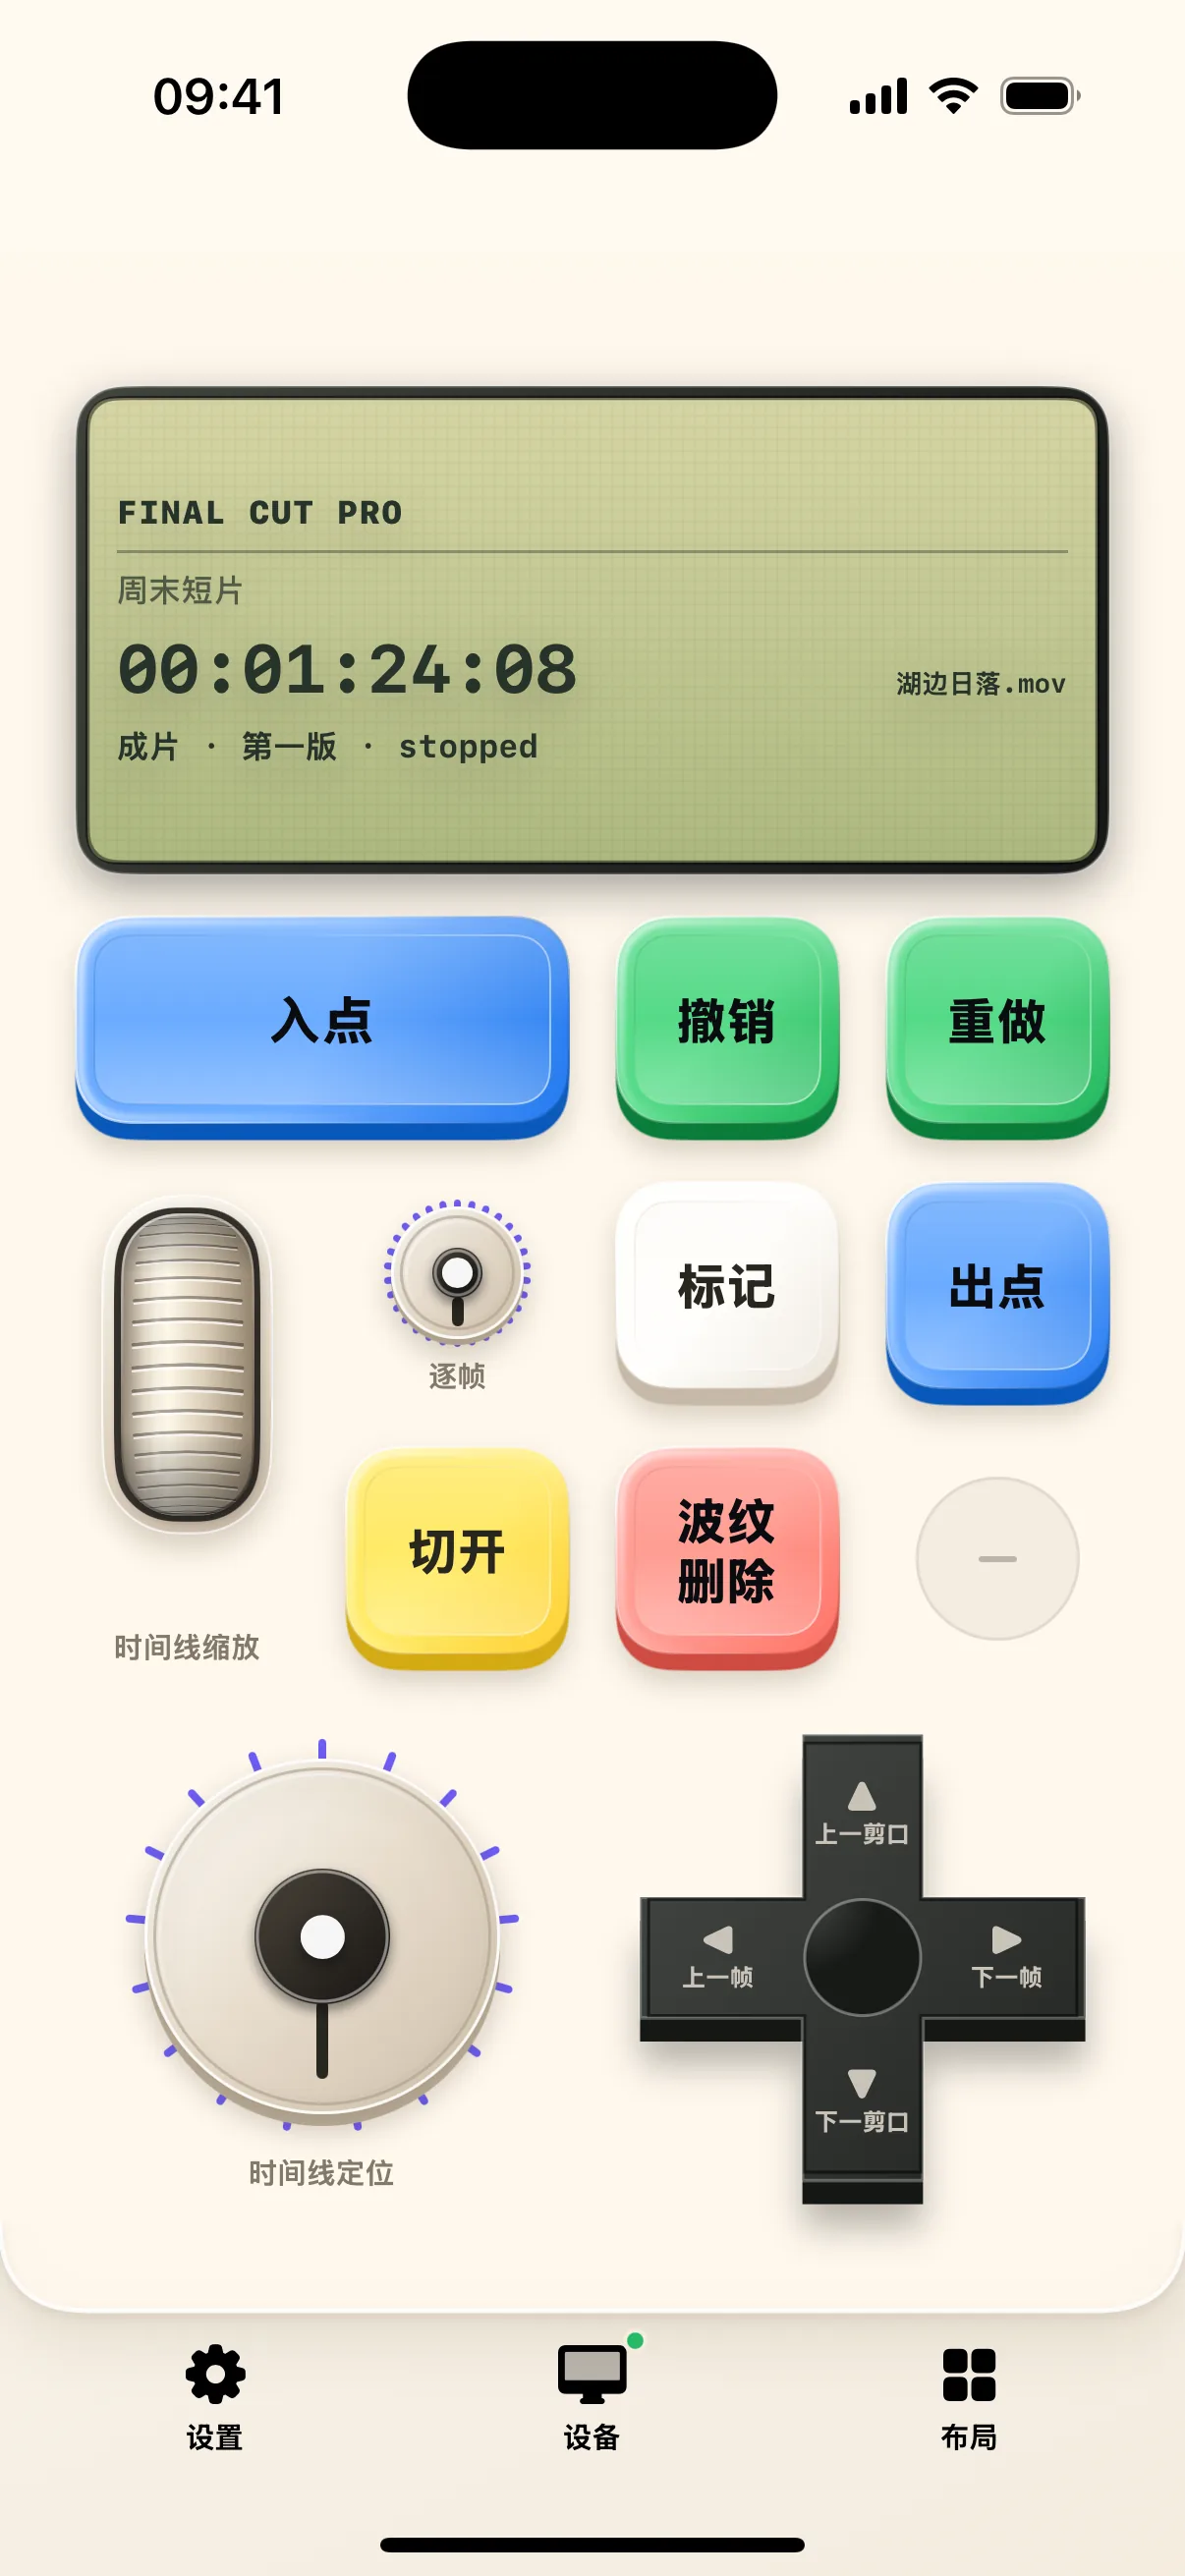
When you launch a supported video editor on your Mac and switch to NinoPad's Studio View, the deck automatically identifies the application and displays tailored controls:
- Timeline Navigation: Zoom In/Out, Fit to Window, Previous/Next Edit Point;
- Frame Alignment: Step 1 Frame Forward/Backward, Jog to Marker;
- Clip Trimming: Split/Blade at Playhead, Ripple Delete, Undo, and Redo;
- Playback & Markers: Play/Pause toggle, JKL Shuttle, and Add Marker.
2. Three-Step Safe Practice Routine
To build muscle memory without risking live client projects, create a test timeline with short sample clips and follow these 3 steps:
- Step 1: Focus Test Timeline
Open the test timeline in your Mac editor and make sure the timeline panel has active window focus. - Step 2: Step Frames & Locate Edits
Tap the "Step 1 Frame" buttons on your phone to watch the Mac playhead align precisely with visual scene transitions. - Step 3: Playback, Split, and Undo
Press "Play/Pause" to preview footage, tap "Split" to cut the clip at the playhead, then tap "Undo" to restore, verifying instant shortcut responsiveness.
3. Fine-Tuning Rotary Knobs for Scrubbing
NinoPad includes continuous virtual rotary dials. In Resolve and Premiere Pro, swipe your thumb across the jog knob to scrub footage with smooth, hardware-like inertia, making fine audio sync and cut alignment effortless.